If you are not redirected automatically, click here.
Connecting to Interactive Boards
Please locate the type of device that is in your classroom below.
For engaging lesson tools/activities, and digital whiteboard space, please use
SMART Notebook 18.
Simplicity Touch
- To connect this device to your laptop:
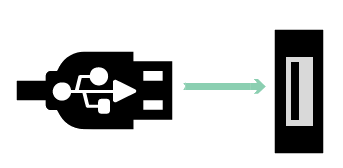

Locate the USB cord and insert it in the USB port on your laptop. If using a docking station, insert the USB connector into any available USB port.
Connect the HDMI cable to the HDMI port on the docking station (if available), otherwise connect the HDMI cable directly to the laptop (note: the HDMI cable carries both audio and video).

If using VGA instead of HDMI for video, make certain that the VGA or video plug along with the audio plug are properly secured to either the computer or docking station.
Once the laptop is powered on and connected to the Simplicity Touch, the screen should be viewable. The touch capabilities of the Simplicity Touch will become instantly avaialble and no calibration should be required.
Click here for engaging lesson ideas using SMART Notebook
Click here to connect to the Simplicity Touch Webpage.
Promethean
- To connect this device to your laptop:
Locate the USB cord and insert it in the USB port on your laptop. If using a docking station, insert the USB connector into any available USB port.
If using VGA for video, make certain that the VGA or video plug along with the audio plug are properly secured to either the computer or docking station.
Once the laptop is powered on and connected, the promethean logo will illuminate in the upper left corner of the board.
Click here for engaging lesson ideas using SMART Notebook.
Click here for the Promethean Webpage
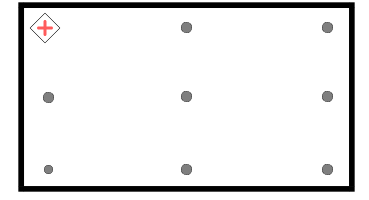
 Once the Promethean Board has been connected, hover the Promethean pen/stylus over the illuminated Promethean logo in the upper left corner of the board.
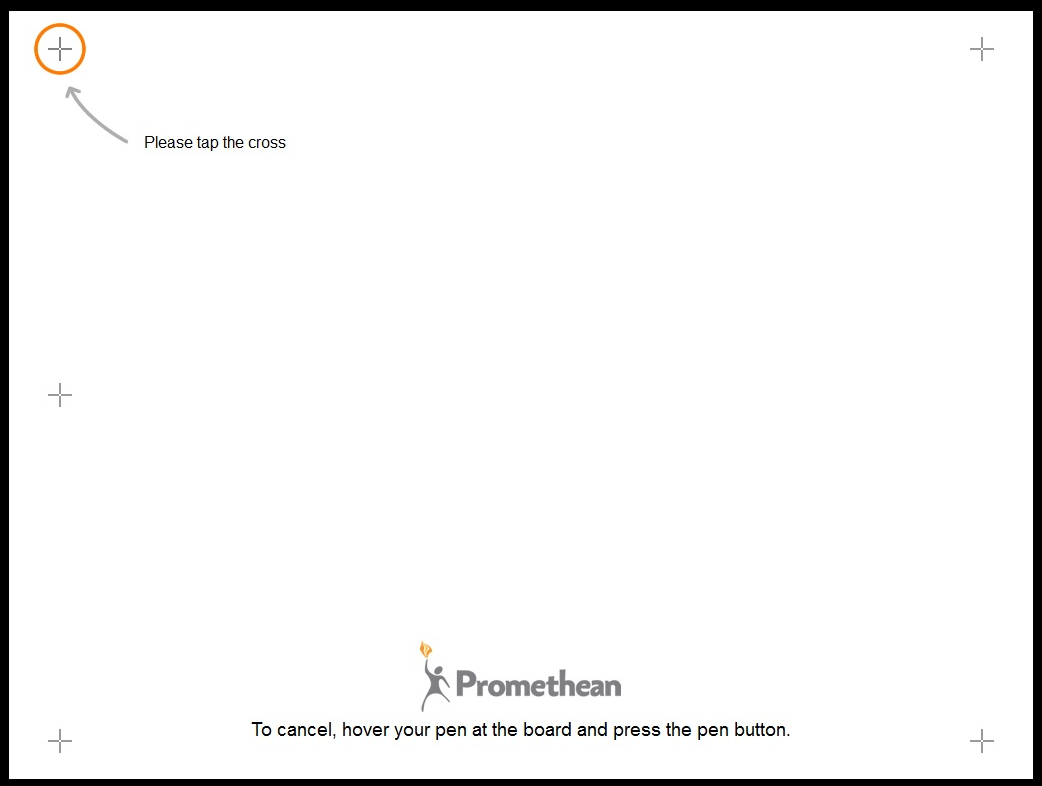
A series of targets will appear on the screen. Tap on the center of each target with the pen/stylus to complete the calibration process.
Interwrite
To calibrate the device:
Once the Interwrite board has been connected, click on the calibration icon located on the side of the screen.
Once clicked the calibration options will be available. Remove the pen from the holder and click on center of each target to complete the calibration process.
Click here for additional calibration instructions
SMART
- Once the SMART Board is connected to your laptop, press the two buttons in front of the eraser on the pen tray to begin calibration.
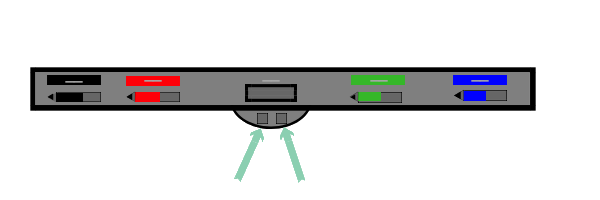
The orientation wizard will then begin.
Using your finger or a pen from the pen tray, touch or tap the center of each of the flashing targets.
Ebeam
- To connect this device to your laptop:
Locate the USB cord and insert it in the USB port on your laptop. If using a docking station, insert the USB connector into any available USB port.
If using VGA for video, make certain that the VGA or video plug along with the audio plug are properly secured to either the computer or docking station.
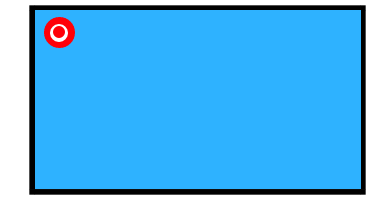
Once the laptop is powered on and connected, a green circle will light up around the ebeam logo on the device. If it does not illuminate, press the power button on the ebeam unit.
Click here for engaging lesson ideas using SMART Notebook
Click here to connect to the eBeam Webpage
- Once the ebeam is connected press the eBeam logo on the device.
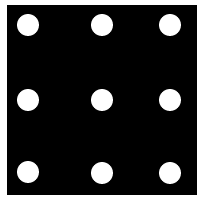
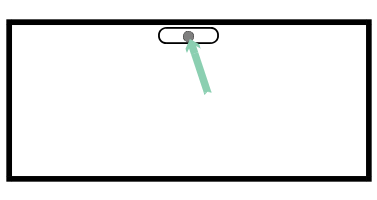 Using the eBeam pen/stylus tap the center of each target as it moves across the screen.

Once each target has ben tapped the calibration process will be completed.
ISTE Standards
The International Society for Technology in Education